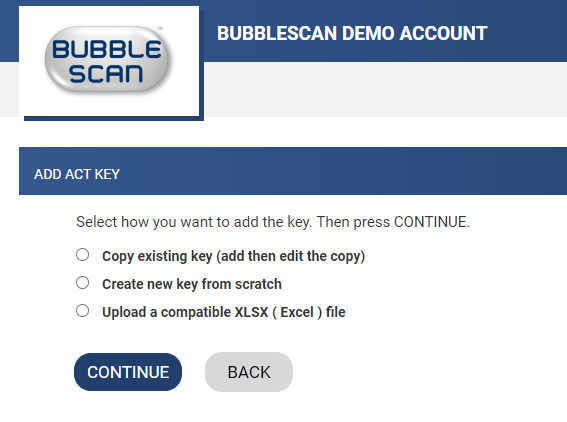
You currently have three options when it comes to creating your own answer key. It all starts with clicking on <+ADD> in the KEYS menu of the particular test type you want to add to.

You then see the three options for creating a new key.

We will very soon be adding a fourth option for ACT, the ADD ACT KEY WIZARD, but I will create a separate post for that when it is actually available.
The easiest and recommended way to create a new key, is the first option, Copy existing key (and then edit the copy). You will see a list of all active and inactive, local and system keys and simply pick the one you want to copy.
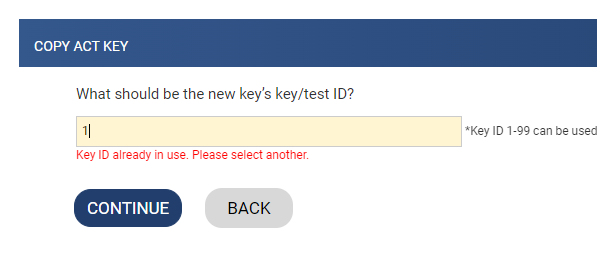
When assigning a new key ID, you have to pick one that does not belong to an ACTIVE key. For that reason it makes sense to deactivate system key #1 before you want to create your local copy using the same key ID.

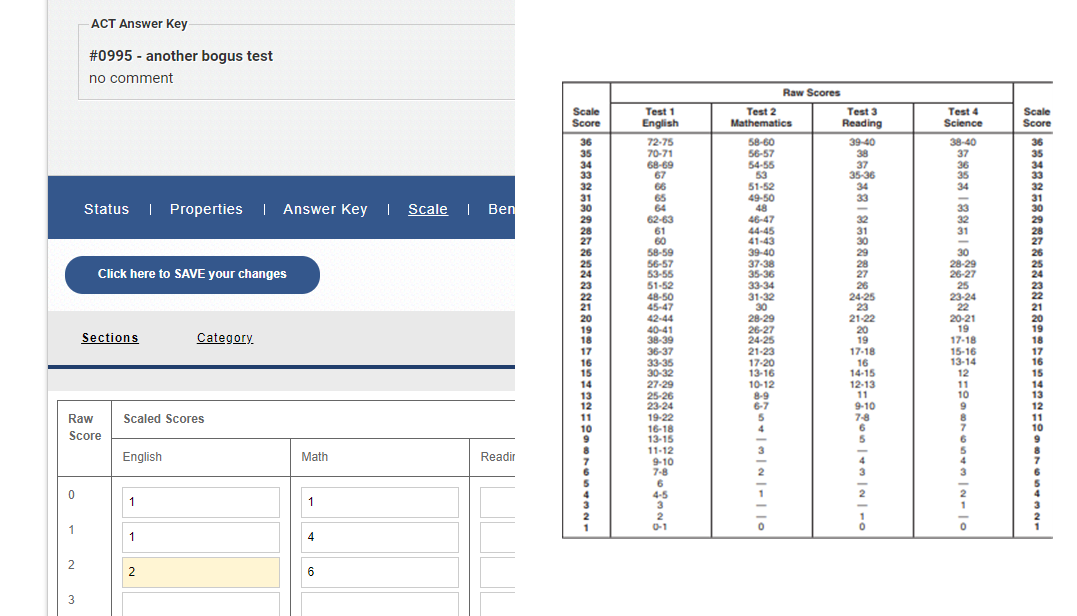
The second option is to create the key from scratch right through OnlineScoreTracker. The process is pretty straight forward, just tedious. It can get a little confusing when it comes to entering the scaled published by the test maker. OnlineScoreTracker’s format differs from the format you may see published by the test maker. We show the Raw Score on the far left and ask you to enter the Scale Score obtained, while the published scale usually does it just the other way around.

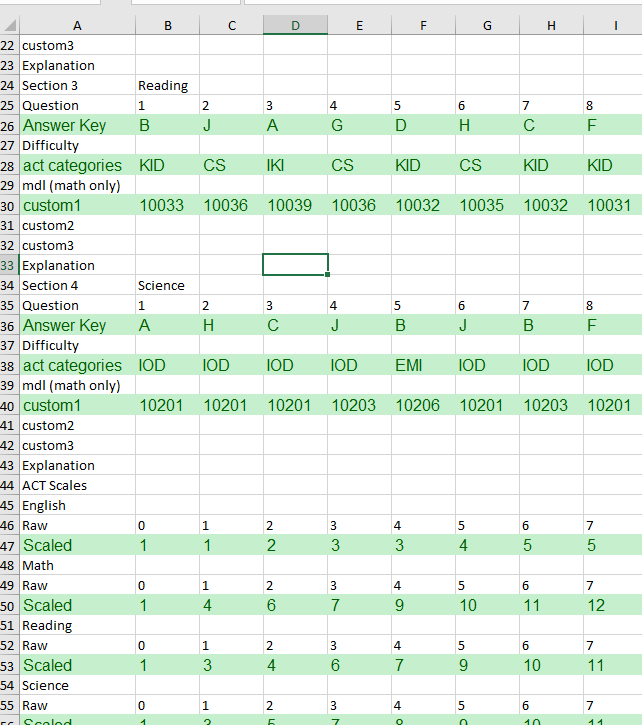
If you are good with Excel, then the third option to upload a compatible Excel file might be for you. We usually start by downloading an existing Excel file and then modifying it by replacing the key, categories, and scale. When using the Excel file, it is critical that fields remain exactly where they are and that you use the correct abbreviations for categories, hence the practice of modifying an existing Excel key.

